
Call me crazy, but I'm always leery about what nasty chemicals are lurking in the toys at the dollar store. (Maybe because I keep finding lead in the necklaces that can be purchased there? They are meant for children; I just don't understand it.) Don't get me wrong, I [heart] dollar stores for many, many things. Just not really cheap children's toys, because they are cheap for a reason.
I went on a search to find my daughter alphabet magnets that I'm okay with her playing with (sticking in her mouth, etc.). I found not one single option that met my standards.
A) I wanted both uppercase and lowercase letters--call me crazy, but if your child is only seeing this as an E, they may have an issue understanding that both "E" and "e" are the same letter and it will likely take them longer to learn how to read; and
B) I didn't want it to be plastic.
My solution, make my own. And it's super easy, so I thought I'd share how I did it with you too.

I used acrylic felt to cut both the 1.5" letters and the 2.5" squares (104 squares to be exact). you could use a different fabric, I just found the felt to be pretty forgiving and really easy to work with. I used a basic stitch to secure one letter to one piece of felt.
I also want to mention, I cheated on cutting out the letters which is probably one of the major factors to thinking this was such and easy thing to do. I have an AccuQuilt Studio cutter and two alphabet sets (uppercase and lowercase). You could print the alphabet out on paper and use that to cut it out if you don't mind spending the time. Or, if you are willing to wait for the post, we could do the cutting for you. Our etsy shop has the entire lower and uppercase alphabet available at a very affordable price here.
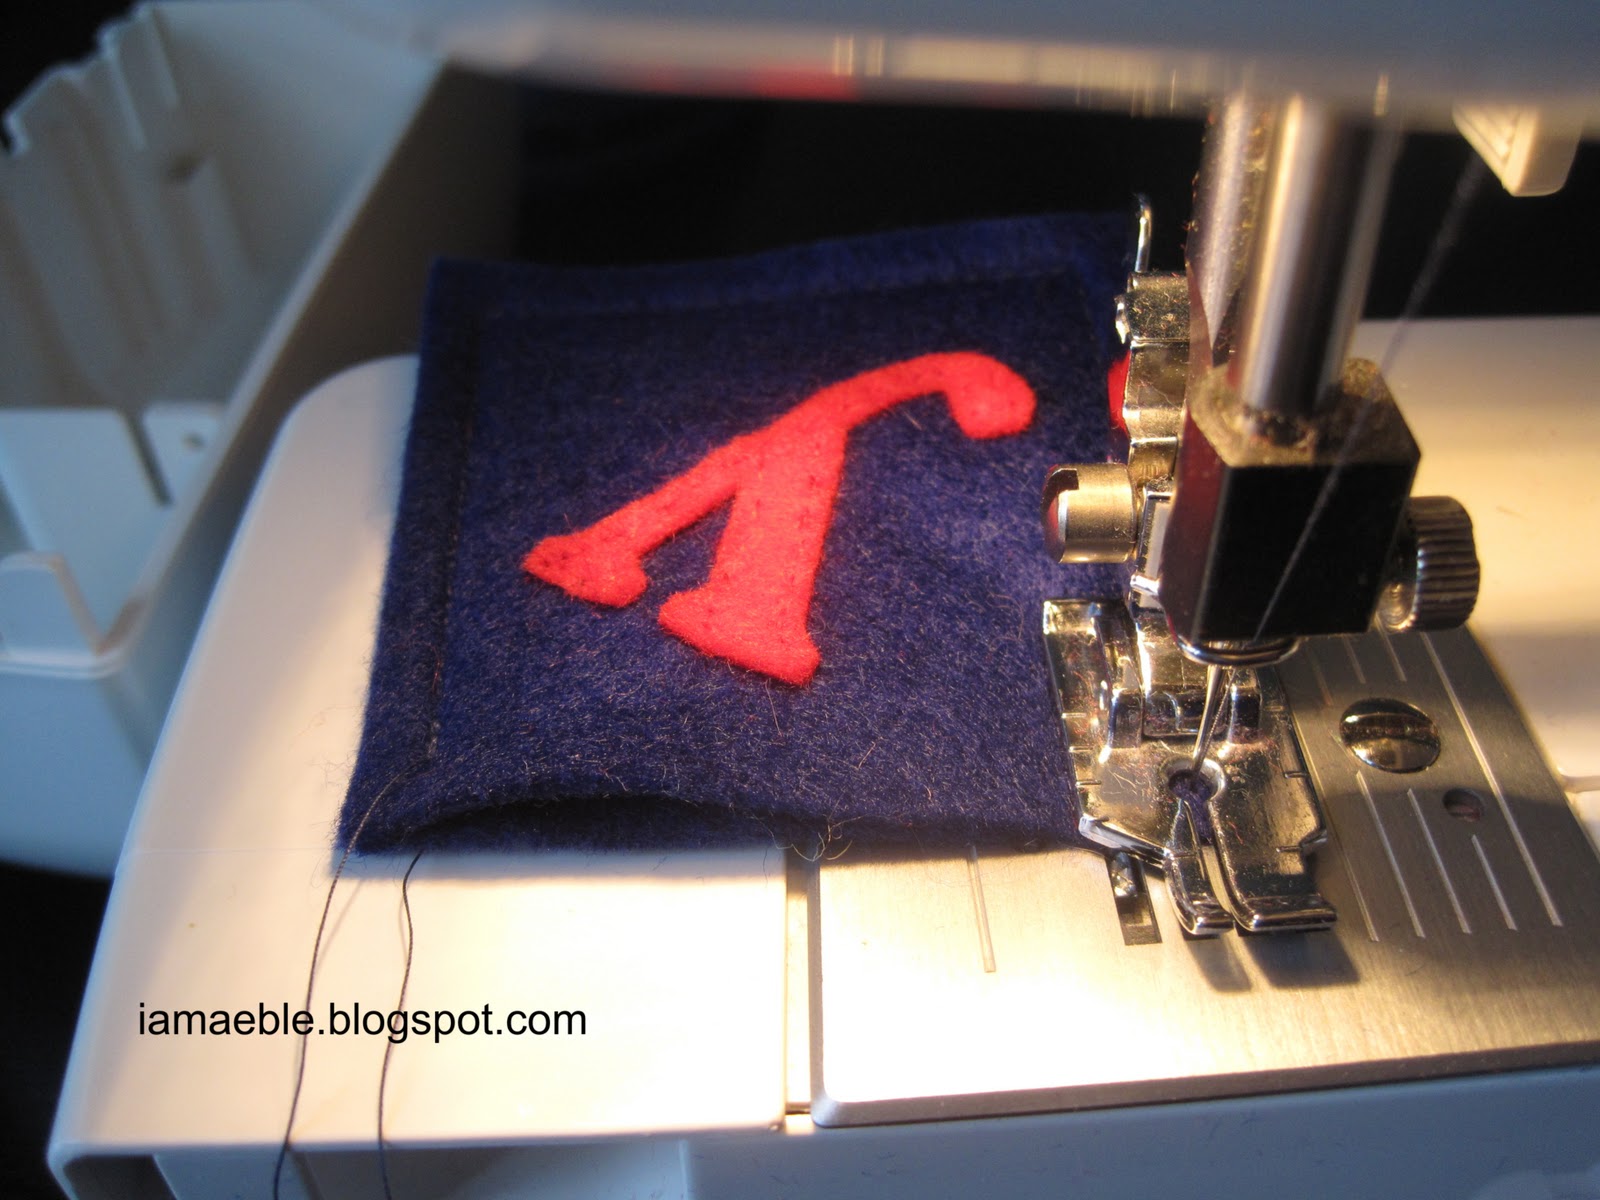
I then grabbed a back piece and lined it up, right sides facing out, and stitched around three of the sides.

I then slide a magnet into the pocket I'd just created.

And then stitch the last side closed and you are done.

If you end up making some of these for a special little person in your life, I'd love to see what you've done! Leave a comment or send me a note.
I'm off to finish the other forty some odd letters I need to stitch on to the squares!
Don't forget to check out what other people are working on at Lee's WIP Wednesday:

4 comments:
Hi! Great idea and I love letters! Thank you for your visit and comment!
x Teje
What a great idea! Your daughter is going to love these letters!
This is a great idea and tutorial. Would make great gifts.
Great info, sweetie! Keep it up! BTW, I suggest you should make your site a bit more social.
11Jane Tremblay
dominos coupons
Post a Comment